 I made myself a small fabric folder this weekend. I needed something to hold my pattern file cards since having them scattered throughout the sewing room wasn't working for me.
 When I create a new design or pattern, I write down measurements along with small diagrams on basic file cards. I found that, for me, these were easier to keep track of than muslin or plasic templates.
To provide structure, I inserted pieces of cardboard behind the pocket sleeves...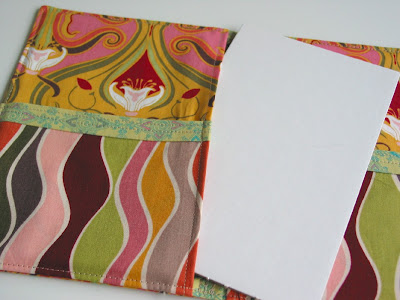
I also used an iron on vinyl to laminate the outer fabric. While I like that it will be easy to wipe off and a bit more durable, I wasn't thrilled with the creasing that occured when it was time to turn the pieces right side out. You can kind of see what I mean in the photo below...
 I'll have to play around with the vinyl and construction or maybe use the matte finish one that I have the next time. But, all in all, I like how it turned out and think it will be very useful. I didn't have time to put together a tutorial, but when I make my next one, I'll show you how I did it. :-)
 This project is also part of The Twice Remembered Cottage "Make Your Monday" link event. Click the link above to see all the fun things bloggers are making this week.
8 comments:
This is cute! Thanks for sharing. I love your clutches below, as well!
Nerissa
I love this! I'll bet it could be adapted for many uses. Love the fabrics you used.
Fabulous! You make the most fun things.
Karla
You are so creative, I love it! Love the fabric you used.
Arlene
I would love to know how you did it. Obviously your outer cover is stronger than mine because I use a full piece of carboard from one corner to the next. Yours looks great. Cherrie
This is so so cute. I love this and I love your tapestry bags.
What fun is that?!? Well done. Isn't it just amazing what one can come up with sometimes? I've been having a blast creating to satisfy my needs, too, and think I'm a genious everytime I look at my finished project! ( And I can't stop looking at it :))~karen
Hey Smartie, that is neat.
Post a Comment